Wrangling Virtual Environments with VirtualEnvWrapper
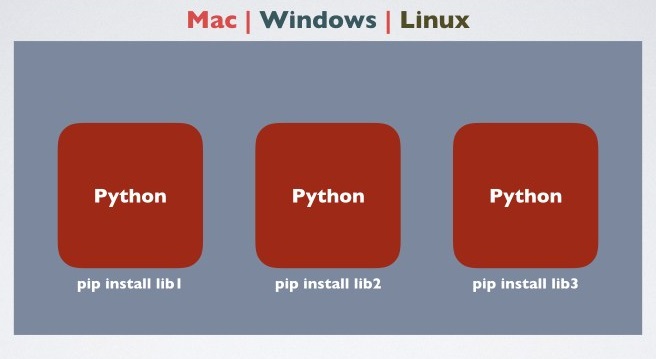
Manage multiple environments in one place.
Why use virtualenvwrapper?
Easy organization of multiple virtual environments and simple streamlined commands.
Key Features
- Places all of your virtual environments in a single directory.
- Wrappers for creating/copying/removing environments.
- Single command to switch between environments.
- Tab completion.
- User-defined operation hooks.
- Plugin system for generating extensions.
Installation Process
Basic virtualenv
Installing the base virtual env is outlined below.
$ pip install virtualenv
$ virtualenv ENV
$ source bin/activate
Virtualenvwrapper
To install virtualenvwrapper, we follow a similar pattern.
Install the package
Use pip to install the package.
$ pip install virtualenvwrapper
Create a home directory for all your virtual environments.
Now that we’ve installed virtualenvwrapper, let’s start using it. We’ll first set an environmental variable WORKON_HOME, and point it to our target folder /Envs rather than the default ~/.virtualenvs location.
We will do the same for projects with PROJECT_HOME.
Add the following to your Shell start up file.
$ export WORKON_HOME=~/Envs
$ export PROJECT_HOME=$WORKON_HOME/Projects
$ mkdir -p $WORKON_HOME
$ source /usr/local/bin/virtualenvwrapper.sh
NOTE TO WINDOWS USERS:
Use the following to add the lines to the bashrc file, you shouldn’t edit it with any windows apps, it can cause issues and result in a necessary re-installation of Ubuntu.
echo 'export WORKON_HOME=~/Envs'>> ~/.bashrc
echo 'export PROJECT_HOME=$WORKON_HOME/Projects' >> ~/.bashrc
echo 'mkdir -p $WORKON_HOME' >> ~/.bashrc
echo 'source /usr/local/bin/virtualenvwrapper.sh' >> ~/.bashrc
Additionally you may need to use the following command as well if you’re using Python3:
echo 'export VIRTUALENVWRAPPER_PYTHON=/usr/bin/python3' >> ~/virtualenvwrapper.sh
Create new environments/projects
We can make a new environment by using mkvirtualenv followed by your desired environment name.
$ mkvirtualenv env_1
$ mkvirtualenv env_2
$ mkvirtualenv env_3
Useful Option:
Use -r to specify a file containing a list of packages you’d like installed upon construction of the environment.
Example: $ mkvirtualenv env_4 -r file_with_listed_packages.txt
View Available Environments
We can view environments using ls with our environmental variable, or lsvirtualenv.
$ ls $WORKON_HOME

# Or simply
lsvirtualenv
Swap projects/environments
Moving between environments is pleasantly simple, we can call workon with a desired environment name.
(env_1)$ workon env_2
Remove an environment
We can remove environments with rmvirtualenv with the target name, but if it’s an active directory we have to deactivate our instance first, which we’ll do next.
rmvirtualenv env_1
Deactivate
When you’re finished working in an active virtual environment, you can end the session with deactivate, reflected by the removal of the parenthesized (env_1) affixed to the left of the money symbol.
If you wanted to remove env_1 while you’re already engaged with it, you’d first deactivate with deactivate.
(env_1)$ deactivate
Virtualenv Directory Shortcut
To quickly hop to your virtual environment home directory, you can call cdvirtualenv.
(env_1)$ cdvirtualenv